
You don’t need a new camera to take better travel photos. Most of the difference comes down to a few simple habits, learning how to use the light, and taking an extra moment to think about what you want the photo to say.
Whether you shoot on a phone or a camera, these basics will help you come home with photos you actually love, not just a camera roll full of “proof you were there”.
1) Start with the story, not the scenery
Before you take the shot, ask yourself: what am I trying to capture?
- The scale of a mountain range
- The energy of a market
- A quiet moment at a café
- The feeling of arriving somewhere new
Once you know the story, it’s easier to decide what should be in the frame and what can be left out.
Quick tip: take a wide photo to set the scene, then a close-up of a detail (hands cooking, patterned tiles, a street sign, a plate of food). Those two together tell a much stronger story.
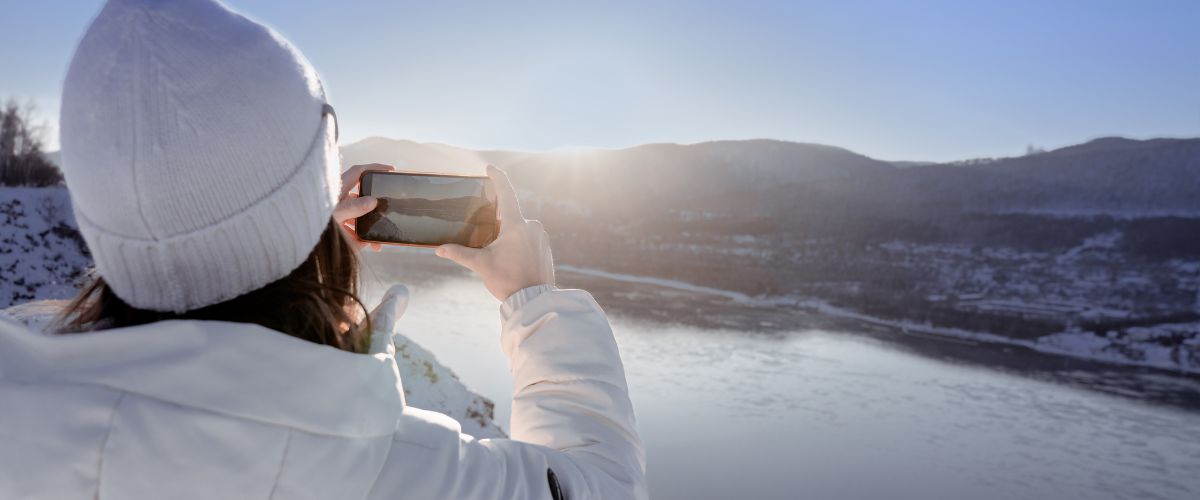
2) Use the best light you already have
Light is everything. The same place can look completely different depending on the time of day.
- Early morning and late afternoon usually give you softer, warmer light
- Midday sun can be harsh and create dark shadows
- Overcast days are great for portraits, food, and street scenes because the light is even
If it’s bright midday and you still want photos, look for shade. Stand under an awning, near a doorway, or beside a building that blocks the sun. Your photos will instantly look calmer and more flattering.
Phone tip: tap on the brightest part of the scene, then slide your finger down slightly to reduce brightness. This helps avoid washed-out skies.
3) Clean up the background
One of the fastest ways to improve a photo is to remove distractions.
Before you take the shot, scan the edges of your frame:
- Are there bins, power lines, random people, signs, or clutter behind your subject?
- Is something growing out of someone’s head (tree branches are the classic)?
You don’t need to overthink it. Simply take one step left or right, or lower your angle slightly.
This is especially important for portraits. A clean background makes the person stand out and the photo looks more intentional.
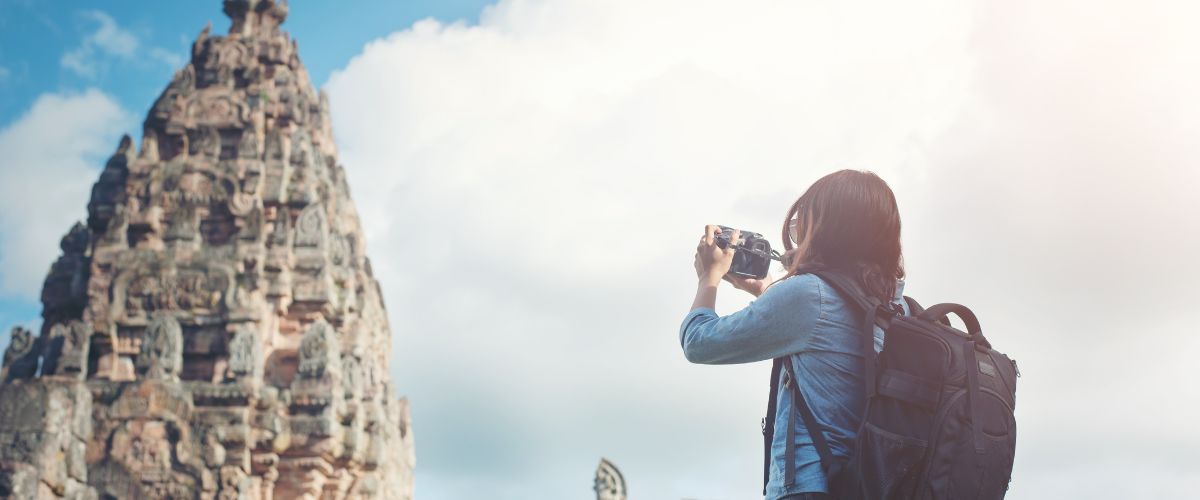
4) Get closer, then get closer again

Most holiday photos are taken from too far away. Getting closer makes photos feel more personal and helps the viewer feel like they’re there with you.
Try this:
- Take the photo the way you normally would
- Then take one with two steps closer
- Then take one even closer, focusing on a detail
You’ll usually prefer the closer versions.
Phone tip: avoid using digital zoom if you can. It reduces quality. Instead, physically step closer or crop later.
5) Use simple composition tricks
You don’t need to learn complex rules. A few easy ones go a long way.
Put the horizon straight
A wonky horizon is the quickest way to make a great scene look messy. Use your phone’s gridlines (turn them on in settings) and line the horizon up.
Try “rule of thirds”
Imagine your screen is divided into a 3×3 grid. Place your main subject slightly off-centre instead of dead centre. It creates a more natural-looking photo.
Use leading lines
Roads, fences, rivers, and pathways naturally pull the eye through the image. If you can, position yourself so those lines lead toward your subject.
6) Make people photos feel natural
You don’t need stiff posing. The easiest way to get better travel portraits is to give someone something to do.
Try prompts like:
- Walk slowly towards me
- Look out at the view, not at the camera
- Take a sip of your coffee
- Adjust your bag or jacket
- Talk to someone next to you and forget I’m here
These create relaxed photos that feel real.
Lighting tip: for flattering portraits, avoid overhead sun. Stand in open shade or with the sun behind them, then tap their face on your phone to expose correctly.
7) Capture the small details
Some of your best travel photos won’t be the famous landmarks. They’ll be the little things.
- The menu written on a chalkboard
- A street vendor’s hands
- Fresh produce in a market
- Hotel keys, tickets, maps
- Textures, patterns, doors, tiles
- Your hiking boots at the trailhead
These details bring your trip back to life when you look at photos later.
8) Take more than one photo

The difference between an average photo and a great one is often one extra second.
When you see a moment you like:
- Take 3 to 5 photos quickly
- Change your angle slightly
- Take one wide, one medium, one close
This gives you options, especially when there’s movement, changing light, or busy environments.
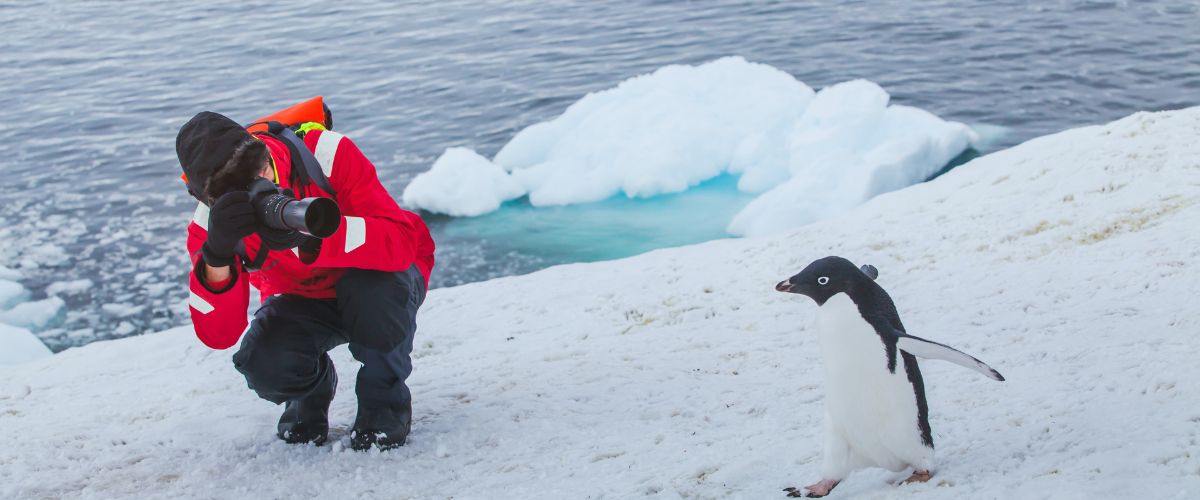
Phone tip: use burst mode for moving subjects (kids, wildlife, waves, street scenes). You can pick the best frame later.
9) Edit lightly, not heavily
Editing should make the photo look like what you saw, not something completely different.
Start with simple changes:
- Slightly increase brightness
- Reduce highlights if the sky is too bright
- Add a touch of contrast
- Warm it up a little if it feels cold
- Straighten and crop to improve composition
Most phones have great built-in editing tools. You do not need advanced apps.
10) A quick checklist before you press the button

If you remember nothing else, run through this quick checklist:
- What’s the story?
- Is the horizon straight?
- Is the light decent? If not, can I move to shade?
- Is the background clean?
- Can I get closer or change angle?
- Take a second shot for safety
Want help putting this into practice?
If you’ve got travel coming up and want to feel more confident capturing it, our upcoming Travel Photography Info Session will cover practical tips you can use immediately, whether you shoot on a phone or a camera. You’ll come away with simple techniques, real examples, and a better idea of how to capture your trip the way it felt.